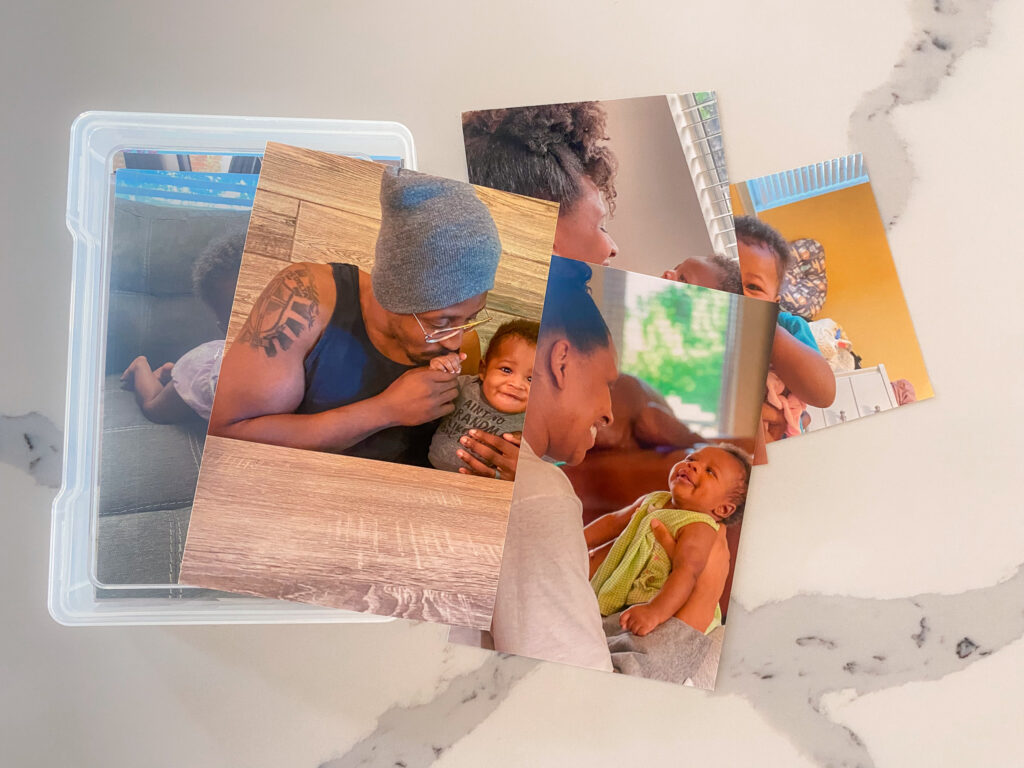
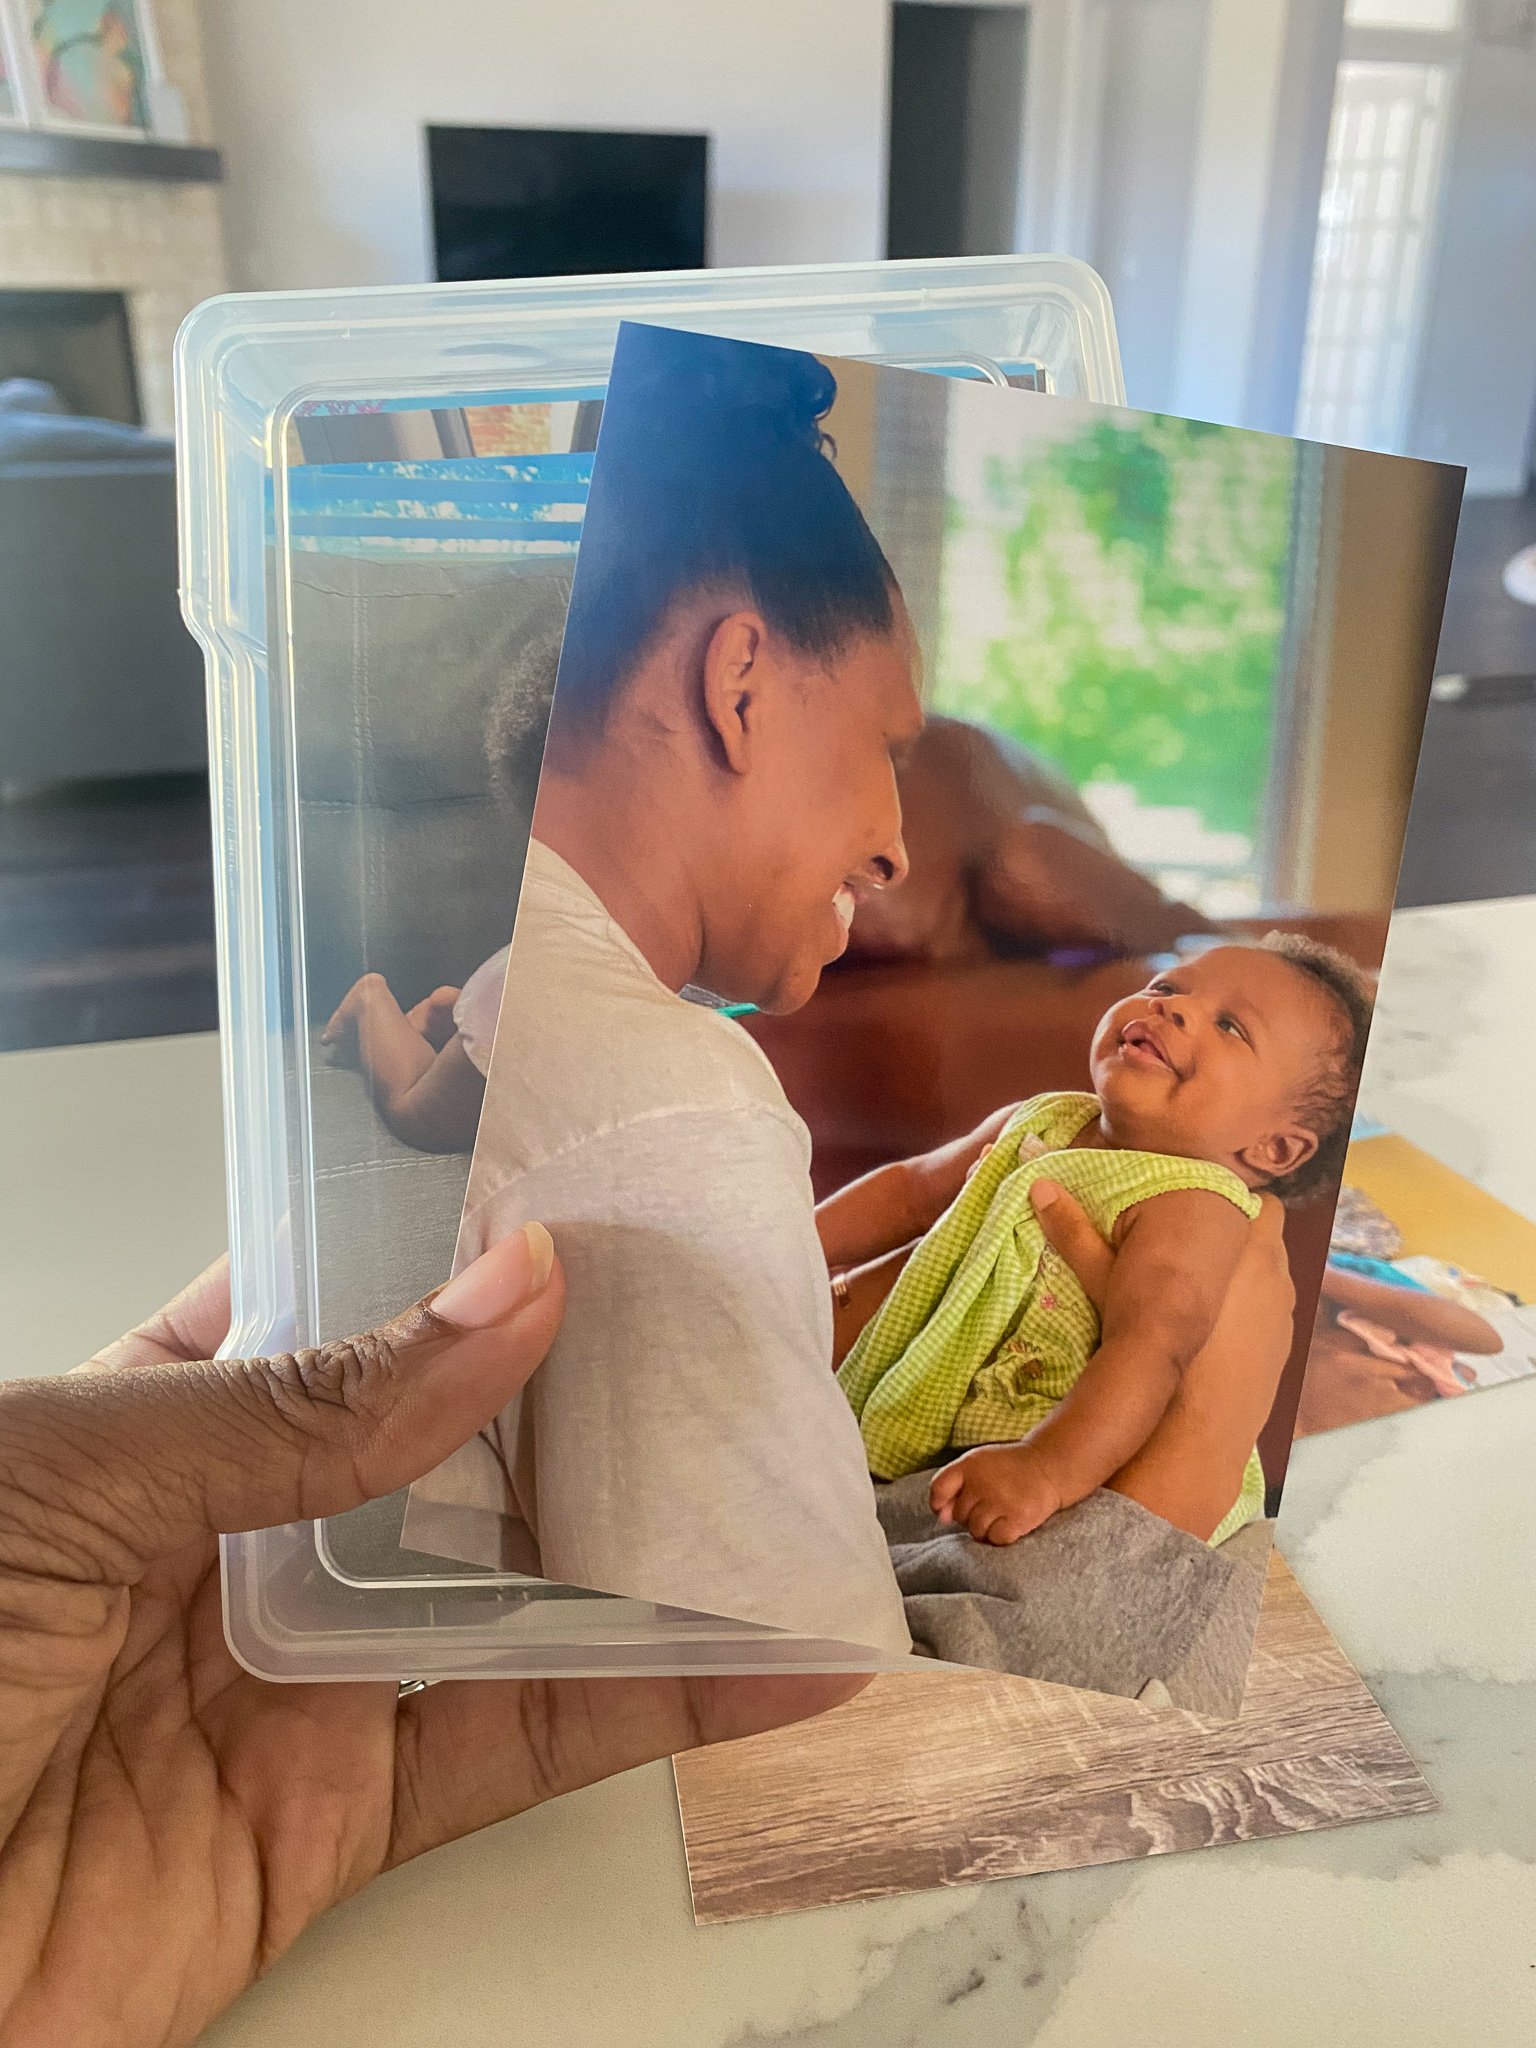
Family photos are treasured keepsakes that you are sure to cherish for years to come – but in today’s digital world, those photos all too often become forgotten about and stored in your phone’s camera roll. Going back to the “old days” of creating a family photo book can be an excellent way to truly enjoy these special images again.
However, if you are a busy mom like me, you might not have the time (or the patience) to create your family photo album with stickers, glue and construction paper. Seriously, even thinking about that scope of a project makes me a little stressed! So instead, I’m taking on a much simpler version of the yearly family photo album project – and I wanted to share it with you because it has been such a successful way to transform digital photos into a tangible collection of our favorite memories.
In this article, I’ll walk you through this life-changing strategy for building a collection worth of photos that will be enjoyed for generations to come. Get inspired without wanting to pull your hair out with this simple photo project.
How to Create a Family Photo Album (Without Getting Overwhelmed)
I’m not the type of bust out a glue stick and glittery paper to create the tradition photo coffee table book. But I still wanted a way to highlight our favorite family moments and make a family photo album. I feel like our digital photos are always getting lost in the shuffle, and with each passing year, the task of building a photo book together gets even more daunting… but with this simple project, you can preserve the photos you want with an easy to create storage system that will keep these memories accessible over the years.
I’ll walk you through a step-by-step guide of what I did to create my family albums in a way that is a little bit less traditional – but that still lets our family traditions shine.
Choosing Photos for a Family Photo Album Book
First up, it’s crucial to choose the photos you want to highlight. Focus on the special moments that stand out in your mind – whether it’s an important milestone, a family vacation, or a special occasion, or a memory with great-grandparents. And those photos that do not flatter you or make you excited to reminisce? Get rid of them!
I know, it sounds scary. But it is tough to treasure the most important moments – a first birthday or other special memories – when you are sifting through piles of unflattering, blurry, dark, or random pictures that do not mean much to you. Instead, give those everlasting memories and big events a chance to shine. Plus, when you get rid of the irrelevant stuff, you will leave more room to add new memories to your collection.
Once you have selected the photos you want for your family yearbook, it’s time to print those photos out. Remember, we are making a printed book here rather than a digital collection. Finding the perfect printing service can be tricky, but here are some of my favorite tips.
Choose the Right Online Photo Book Options
When it comes time to print out photos, I typically use Shutterfly. They offer numerous services and can even help you create a photo book just by uploading the photos of your choice to their site. From everyday moments to milestone birthdays, a Shutterfly photo book is sure to be a memento that is passed down through the generations.
But ultimately, you cannot fit every single picture in one of these beautiful books. And that is exactly why we are doing this fun project. Shutterfly can also help you simply print out high-quality photos to get them ready for your next family photo book ideas. Upload the photos from your hard drives or drop them in from your mobile device, and you will have a print collection ready to go in minutes.

Materials & Instructions
Let’s dive in to the meat of this project! Once you have all of the photos you want printed and ready to go, it is time to create your family photo box. Whether you follow my method to the T or simply take inspiration, this is a great way of preserving family memories for years and years.
What You Need
- Printed photos
- Label maker (I use the Brother P-Touch PTM95)
- Photo storage containers (I highly recommend this set from Amazon)
Instructions
Step 1: First, sort the photos by event, year, or other categories. For instance, I typically do one box per year. You can even use a sticky note with a little blurb next to each pile so you remember how you are sorting them.
Step 2: Once your photos are sorted, you will want to start packing them into the boxes. If you have too many in a certain category, it can help to split them up into two separate piles. Keep the photos together from the same event or same place and time. This will help you have the best experience when you go back later to enjoy these precious moments.
Step 3: Label each container of photos using your label maker. This will help ensure that you can always find the collection you are looking for – whether it is a baby album or an anniversary photo book.
Step 4: Put it away – seriously, it’s that simple. Start with just one photo and go from there. This project might seem daunting, but it does not have to be overwhelming. And trust me, it is a LOT easier than scrapbooking!
Other Family Photo Album Ideas
There are photo album ideas for every occasion out there – and while I love my storage box method as it is simple, easy, and quick to accomplish, there might be other ways to make a photo book that speak to you. No matter which route you choose, creating an annual family photo album is an amazing way to highlight special family moments and keep them in your mind forever. Here are 10 family photo ideas to help capture special moments spent together:
- Use a file folder system
- Scrapbook with creative souvenirs
- Keep Polaroid photos on display
- Print special memories for a wall gallery of frames
- Color-code photos by category
- Build a memory box
- Create a photo mixbook
- Keep a blog of family photos for easy digital sharing
- Highlight special shots in a digital photo frame
- Craft a DIY photo display
Conclusion
No matter how you choose to display your family photos, sifting through years of digital and print images can be overwhelming – that’s why I decided to take matters into my own hands with this simple project that is SO much easier than scrapbooking. Organizing my photos into crisp, clean boxes lets me enjoy them when I want to and easily put them away when I’m not looking at them. Plus, now I can look at any given year rather than sorting through a messy box of pictures to find what I am searching for.
If you are trying to get your family photos under control and aren’t sure where to start, I highly recommend this activity. You can even go back later on and put them in an album or other display style – but until then, you will have a high-quality collection of pictures and so many special memories to revisit whenever you choose.
Want more tips for an organized and connected home? Check out my other posts on family fun activities that you can do without leaving the house!
